HP Scanjet N9120 (Feeder/Flatbed)
No ID required to operate. Usage limited to 20 minutes
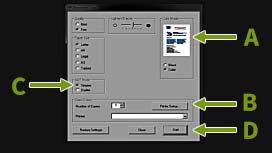

- Click the HP Document Copy icon
- A. Select Color or Black and White in “Color Mode”
- B. Under Printer select “Redwood Room Color Printer” or “Adobe PDF”
- C. If using the top feeder, select Simplex (single-sided) or Duplex (double-sided)
- D. When ready, click Start
- Give your job a new name when prompted
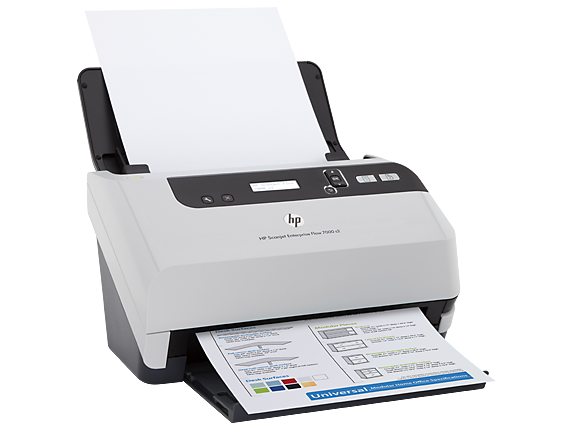
HP Scanjet 7000 s2 (Feeder)
SUNet ID required to operate
To create other than PDF files:
- Click the HP Document Copy icon
- A. Select Color or Black and White in “Color Mode”
- B. Under Printer select “Redwood Room Color Printer” or “Redwood Room black and white printer”
- C. If using the top feeder, select Simplex (single-sided) or Duplex (double-sided)
- D. When ready, click Start in D
- Give your job a new name when prompted
To create and save as PDF:
- To scan sheets into a single PDF, place sheets in the feeder
- To start, click the Adobe Acrobat icon on the desktop
- Select File → Create → PDF from Scanner → choose whichever resulting options you desire
- When you are finished, select File → Save As → Give your document a name and pick where to save it
- Where you save it is where you should look to find it when you are done
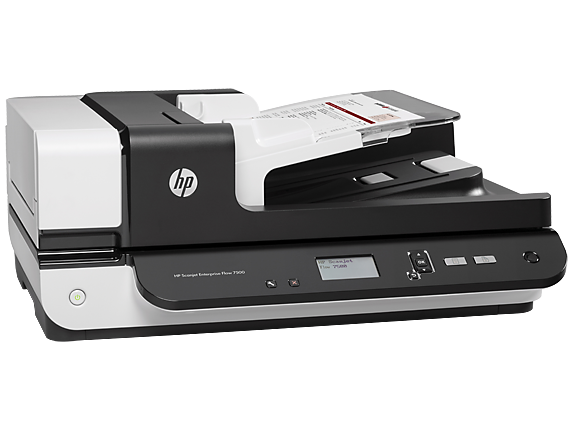
HP Scanjet 7500 (Feeder/Flatbed)
SUNet ID required to operate
To create other than PDF files:
- Click the HP Document Copy icon
- A. Select Color or Black and White in “Color Mode”
- B. Under Printer select “Redwood Room Color Printer” or “Redwood Room black and white printer”
- C. If using the top feeder, select Simplex (single-sided) or Duplex (double-sided)
- D. When ready, click Start
- Give your job a new name when prompted
To create and save as PDF:
- To scan sheets into a single PDF, placed sheets in the top feeder
- If there are no sheets in the feeder, scanner will assume your document is on the scanner glass
- To start, click the Adobe Acrobat icon on the desktop
- Select File → Create → PDF from Scanner → Choose which ever option you desire
- Scanning will begin immediately
- After scanning, you will be asked to choose
- Scan is complete
- Scan more pages (Sheet X)
- Scan reverse sides (reverse of sheet Y)
- When you are finished, select File → Save As → Then give your document a name and pick where you want to save it
- Where you save it is where you should look to find it when you are done
Li Ka Shing Center Scanner
Scan to Email
This function allows you to scan your documents and email yourself the file.
- Place document face up in the document feeder

- Press the SCAN/SERVER button on the panel
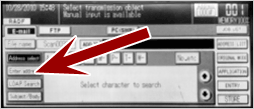
- Touch Enter address field on the Control Panel screen
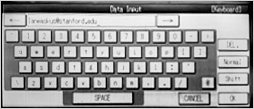
- Use the on-screen keyboard to enter your email address, then press OK on the screen
- The Control Panel shows Ready to Scan message.Touch Subject or Body to add text

- Touch the Original Mode button in the middle right side to adjust the scanning options

- Press the Start button to scan. Your document will be received as an email attachment. The default email subject is “Attached image data”. The default email sender’s address is laneaskus@stanford.edu